TRADE
UNIVERSAL ROBOTS
What is the Universal?
If you have always considered automation out of reach, it’s time to reconsider. The collaborative UR robot arms come with an average payback time of 195 days. That’s the fastest in the industry – quite simply because UR robot arms are void of all the added costs traditionally associated with automation such as external programming resources and shielded work cells.

| UR3 | UR5 | UR10 |
| from 19.750 € | from 23.900 € | from 29.900 € |
| The smallest member of the UR family, the UR3 table-top robot is the perfect choice for light assembly tasks and jobs that call for absolute precision. With 360-degree rotation on all wrist joints and infi nite rotation on the end joint, the UR3 is the most flexible, versatile and collaborative robot on the market today. | The slightly bigger UR5 is ideal for automating low-weight processing tasks like picking, placing and testing. The medium-sized robot arm is easy to program, fast to set up and, just like the other collaborative members of the UR family, offers one of the fastest payback times in the industry. | While the largest robot arm in the UR family and the one with the most muscle power, the UR10 does not compromise on precision. The collaborative robot arm will automate heavier-weight process tasks with payload requirements of up to 10 kg. |

NIKON METROLOGY SYSTEMS
Vesz-Mont 2000 Kft. As a Hungarian distributor of Nikon Metrology offers 3D coordinate measuring instruments and laser scanners for its customers since July 2014. Due to increased market demands, the optimized budget of the projects and shorter lead times have an increasingly important role in quality assurance in all areas of industry. As a result of our cooperation with Nikon, besides the current high-quality design processes, we are closing the production quality assurance. With this corporate development, we can simultaneously serve our customers at a higher level, and with the experience gained in metrology, we can provide a turnkey alternative to our partners who do not yet have the right measuring instrument or their current equipment no longer meets their current or future challenges.

| MODEL | AXIS STROKE (mm) | OVERALL (mm) | WORK PIECE | CMM |
| X-Y-Z | L-W-H | max. weight | weight(kg) | |
| ALTERA 7.5.5 | 711-508-508 |
1573-1257-2505
|
256
|
636 |
| ALTERA 8.7.6 | 813-711-610 |
1673-1460-2705
|
378 | 892 |
| ALTERA 10.7.6 |
1016-711-600
|
1876-1460-2705
|
514 | 1029 |
| ALTERA 15.7.6 |
1524-711-600
|
2384-1460-2575
|
1027 | 1858 |
| ALTERA 10.10.8 |
1016-1016-813
|
1876-1765-2985
|
819 | 1546 |
| ALTERA 12.10.8 |
1220-1016-813
|
2080-1765-2985
|
1040 | 1764 |
| ALTERA 15.10.8 |
1524-1016-813
|
2384-1765-2985
|
1380 | 2289 |
| ALTERA 20.10.8 |
2032-1016-813
|
2892-1765-2985
|
1681 | 3426 |
- Inspection of sheet metal shapes and features
- Assembly problem troubleshooting
- Shape validation of machined orthopedic implants
- Automotive flush & gap inspection
- Inspection and reverse engineering of turbine blades
- Investigating shrinkage of casted metal parts or injection-molded plastic components
- Inspection of tool wear
- Reverse engineering of manually tuned mold and dies, etc.
The MCAx Manual Coordinate measuring Arm, is a precise, reliable and easy-to-use portable 7-axis measuring system. It is the perfect partner for the ModelMaker MMDx / MMCx digital handheld laser scanners and Focus 10 Handheld scanning and inspection software. This total solution’s accuracy, capability and portability makes it feel perfectly at home in the metrology lab, on the shop floor and in-the-field. The MCAx arm can be equipped with a wide range of probing systems for laser scanning, touch-trigger measurements and continuous scanning. Its flexibility makes this measurement arm the perfect solution for the widest range of measurement tasks.
Choose between: high-accuracy, no-compromise MMDx scanners with 50mm, 100mm or 200mm stripe widths; or budget-conscious but effective MMCx scanners with 80mm or 160mm stripe widths
|
MMDx 50
|
MMDx 100
|
MMDx 200
|
MMCx 80
|
MMCx 160
|
|
| Stripe width (Y) |
50 mm
|
100 mm
|
200 mm
|
80 mm
|
160 mm
|
|
Stand-off (to near FOV )
|
95 mm
|
100 mm
|
110 mm
|
100 mm
|
110 mm
|
|
Measuring range (Z)
|
50 mm
|
100 mm
|
150 mm
|
100 mm
|
150 mm
|
|
Accuracy (1σ) 1
|
7 µm
|
10 µm
|
16 µm
|
16 µm
|
24 µm
|
|
Data rate at full FOV
|
50 Hz
|
50 Hz
|
60 Hz
|
30 Hz
|
30 Hz |
|
Max. data rate
|
150 Hz
|
150 Hz
|
60 Hz |
30 Hz
|
30 Hz |
|
Points per stripe
|
1000
|
1000 | 1000 | 800 | 800 |
|
Temperature compensation
|
Yes
|
Yes
|
Yes
|
No
|
No |
|
Sensor weight
|
apx. 400 g
|
||||
|
Laser power
|
Class 2
|
||||
|
Fully automatic - per point (Enhanced sensor performance - ESP3)
|
|||||
|
Compatibility: Nikon Metrology MCAx / MCA II 7-axis / MCA 7-axis (v2.2 & 2.5) Nikon Metrology K-Series K600 / K610 Romer/CimCore Infinite 1.0SC 7-axis / Infinite 2.0SC 7-axis Faro Platinum / Titanium / Fusion 7-axis
|
|||||
|
* Typical values are 30% better than published accuracy.
|
|||||
Anywhere the internal structure matters, X-ray and CT technology serves as an efficient tool to provide valuable information. Detailed capture and measurement of internal features is often vital for quality control, failure analysis and material research across various industries.
|
MPEL:
|
3.8+L/50 µm (L mm)
|
|
PS :
|
3 µm
|
|
PL:
|
4 µm
|
|
Dimensions of the part (maximum):
|
150 mm
|
|
Weight of the part (maximum):
|
5 kg
|
|
Manipulátor:
|
X 100 mm, Y 300 mm,Z 500 mm, R 360 fok
|
|
Forrás-detektor távolság:
|
800 mm
|
|
Detector:
|
14 bit 7,3 Mpixel
|
|
Nagyítás:
|
2,6 x-től 200 x-ig
|
|
X-Ray source:
|
225 kV /20 W
|
|
X-Ray spot size:
|
1 µm micro focus
|
|
Safety (DIN 54113-2 IRR99):
|
< 1 µSv/hr
|
|
Cabinet dimensions (LxWxH)
|
3 211 mm x 1 587 mm x 1 968 mm
|
|
Weight
|
4200 kg
|
- Hardver
- Software
- Laser scanners
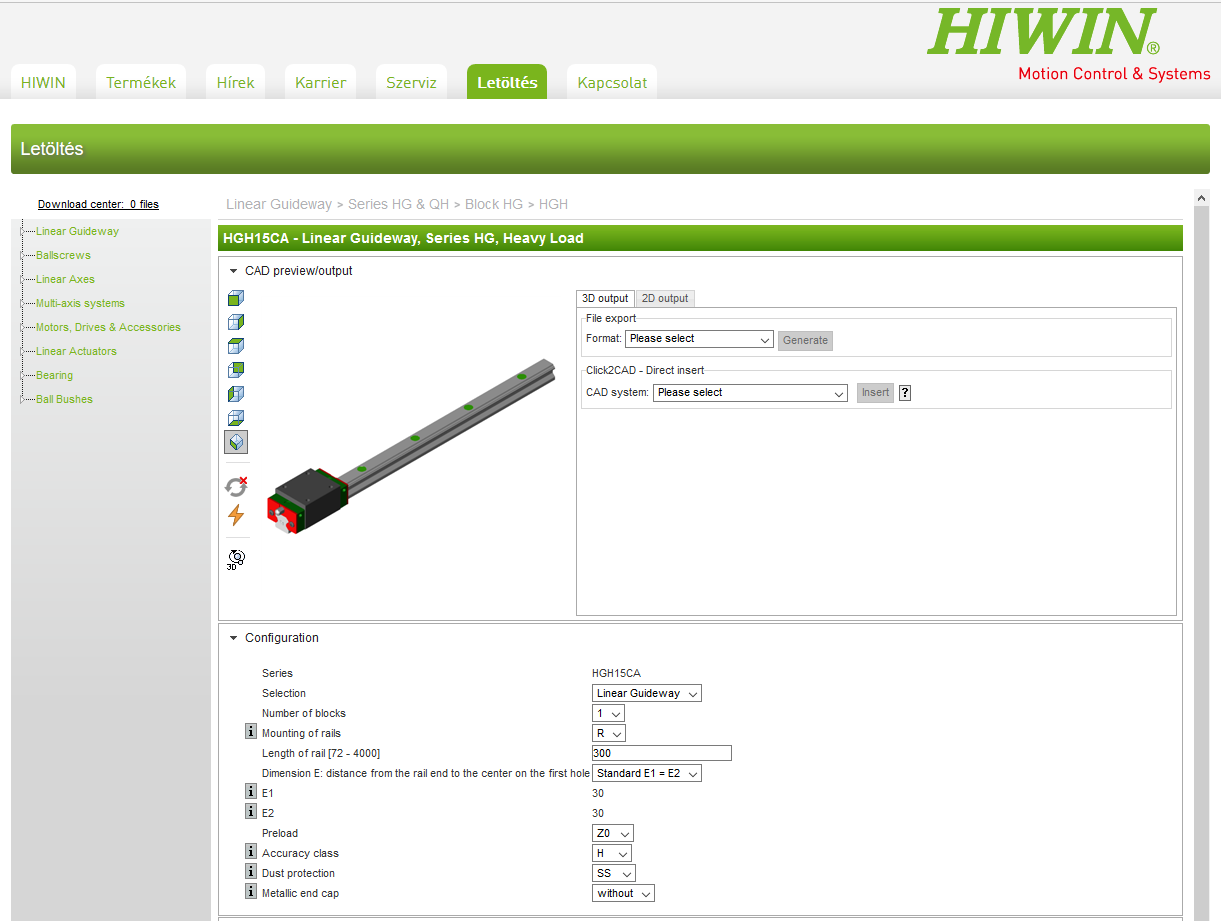
HIWIN LINEAR TECHNOLOGY
- Linear guideways
- Ball screws
- Linear axes
- Multiple Axis Systems
- Motors and Drives
- Electric lifting cylinder
- Bearings

Contact us
HU-8248 Nemesvámos
Huszárok utca 3.
Tel.: +36 88 505 730
sales@veszmont.hu


